
This is part 1 of a 4 part series where we will configure System Center Configuration manager (SCCM) in a Windows Server 2019 environment.
SCCM enables the management, deployment and security of devices and applications across an enterprise. Most system administrators use SCCM for endpoint protection, patch management and software distribution.
Prerequisites
For a quick overview on virtualbox, visit https://www.nakivo.com/blog/use-virtualbox-quick-overview
VM setup overview
-
STDC01
Role: Domain Controller
Memory: 4GB
Storage HDD: 50GB
Static IP: 192.168.1.10 -
SQL01
Role: Domain Controller
Memory: 8GB
Storage HDD: 60GB
Static IP: 192.168.1.11 -
SCCM01
Role: Domain Controller
Memory: 8GB
Storage HDD: 2 X 80GB each
Static IP: 192.168.1.12
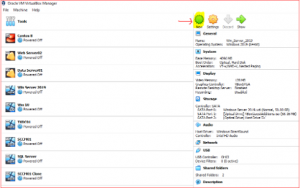
Create virtual machine
-
Select New from VirtualBox Manager.
-
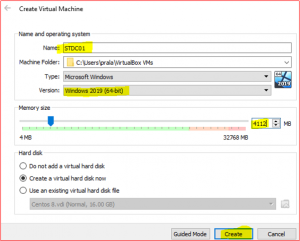
Input Name, Version and Memory and click on Create.
-
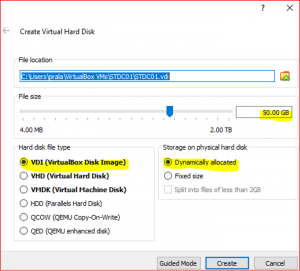
Accept default settings and Click on Create
Install Windows Server 2019
-
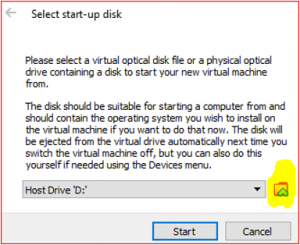
Click on STD01 VM and Start

-
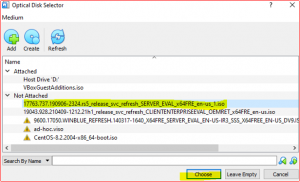
Select start-up disk. Find downloaded ISO file and select it (e.g. 17763.737.190906-2324.rs5_release_svc_refresh_SERVER_EVAL_x64FRE_en-us_1.iso). Then click Start for installing windows server 2019
-
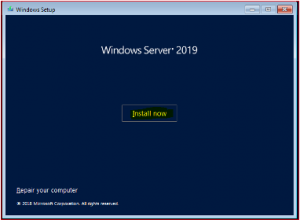
Click on Install Now.
-
In Windows Setup Box Click Next.

-
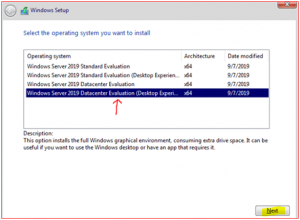
Select Windows Server 2019 Datacenter Evaluation (Desktop Experience). Click Next.
-
Tick I accept the license terms and Click on Next

-
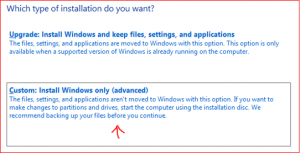
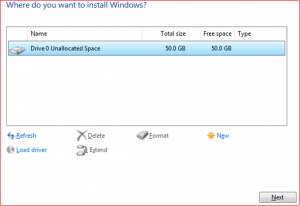
Select Custom: Install Windows only (Advance)
-
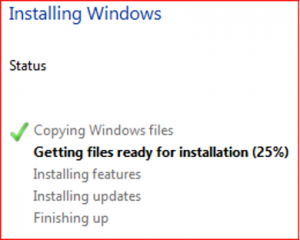
Accept Default settings. Click Next unless you want to create new partition and install drivers
-
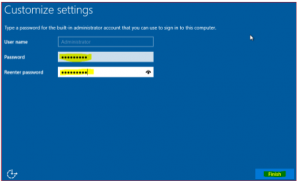
After Windows installation has finished, you will be required to enter Administrator Password:
-
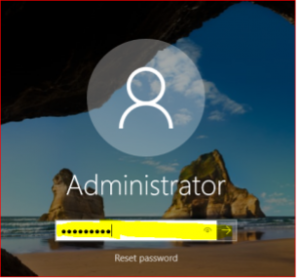
Press CTRL + ALT + DELETE TO UNLOCK (If this combination doesn’t work then just click Right CTRL + DELETE KEY TO UNLOCK)
-
Provide Administrator Password for login and hit Enter key
Initial Setup (Static IP, Remote Desktop, IE Enhance Security Configuration and Computer Name)
-
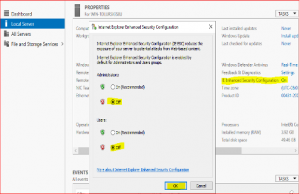
Navigate to Server Manager and,
- Click on Local Server
- Click on IE Enhanced Security Configuration
- In IE Enhanced Security Configuration turn off both Administrators and Users
- Click on OK
-
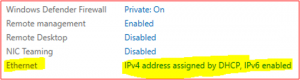
Now we are going to assign Static IP to this machine.
-
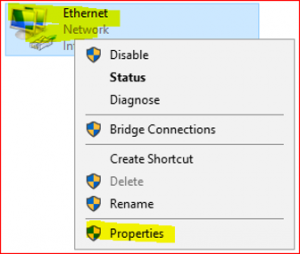
Right Click on Ethernet and Select Properties.
-
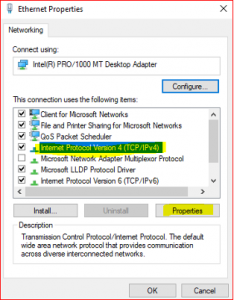
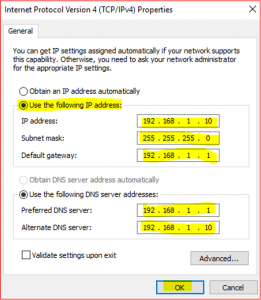
Click on Internet Protocol Version 4(TCP/IPv4). Select Properties.
-
Type IP address, Subnet mask, Default gateway and DNS IPs as it is shown in window:
-
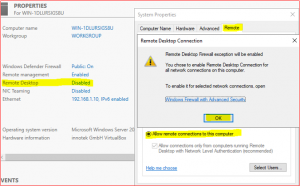
Configure Remote Desktop and Computer name as mentioned above e.g. STDC01
-
Click Remote Desktop then select Remote Tab
-
Select Allow remote connections to this computer and Click OK
-
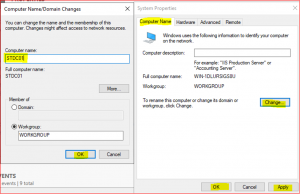
Click on Computer Name Tab and click on Change.
-
Type Computer name: STDC01 and click OK.
-
-
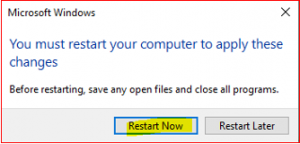
Restart computer to apply changes.
At this point, we have finalized initial setup for the first VM, repeat the same steps for the other two VMs SQL01 and SCCM01.
Conclusion
This concludes part 1 of this series, thank you for reading through till the end. I hope I was able to articulate Initial windows setup server in the simplest way with examples.
In the next part of this series, we will explore installation and configuration of AD DS, DNS and DHCP in Windows Server 2019.


0 Comments